Hello OpenGL
Creating Window
To setup our OpenGL to work, we’ll need to create a window. Every OpenGL program should have main loop (So that OpenGL rendering occurs). So, after creating our window, we’ll add a main loop.
_TITLE "Learning OpenGL" 'giving title to your window
SCREEN _NEWIMAGE(600, 600, 32) 'creating a window of 600x600

'This is our main loop
DO
    _LIMIT 40 'Adding this will prevent high cpu usage.
LOOP
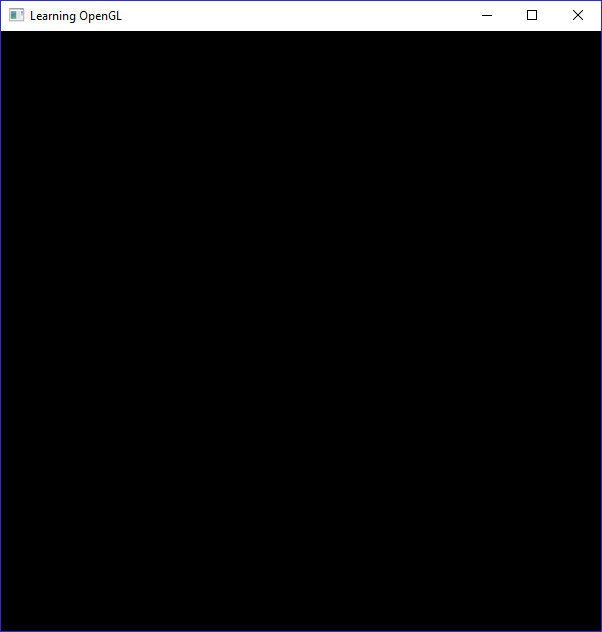
This is will produce the following result -

Adding OpenGL Subroutine
To use OpenGL keywords and other commands, we need to add a subroutine named _GL. QB64 automatically detects this special subroutine and allows us to use OpenGL commands in it.
_TITLE "Learning OpenGL" 'giving title to your window
SCREEN _NEWIMAGE(600, 600, 32) 'creating a window of 600x600

'This is our main loop
DO
    _LIMIT 40 'Adding this will prevent high cpu usage.
LOOP

SUB _GL ()
    'Here we'll put our OpenGL commands!
END SUB
That’s it. It will currently not affect our output with previous one.
Viewport
Now, we have to tell OpenGL the size of rendering window. We’ll use glViewPort() for this. The syntax for this is
glViewPort(x, y, width, height). Where
- x is the location of left x-coordinate of the rectangle.
- y is the location of bottom y-coordinate of the rectangle.
- width is width of the viewport. (or Actually window width)
- height is the height of the viewport. (or Actually window height)
Using
glViewPort, we tell OpenGL how to map the normalized device coordinates (between -1 to 1) to window coordinates (as we specify in it).
_TITLE "Learning OpenGL" 'giving title to your window
SCREEN _NEWIMAGE(600, 600, 32) 'creating a window of 600x600

'This is our main loop
DO
    _LIMIT 40 'Adding this will prevent high cpu usage.
LOOP

SUB _GL ()
    'Here we'll put our OpenGL commands!
    _glViewPort 0, 0, _WIDTH, _HEIGHT 'here _WIDTH() and _HEIGHT() gives the width and height of our window.
END SUB
Coloring the background (OpenGL CLS)
Currently, This window is boring to see. Let’s do some fancy by adding some OpenGL commands.
We’ll be changing the color of the background by using glClear(). The syntax for it is as follows -
glClear( mask )
- mask : You can give this value of GL_COLOR_BUFFER_BIT,GL_DEPTH_BUFFER_BIT or GL_STENCIL_BUFFER_BIT for clearing color buffer, depth buffer or stencil buffer.
You can also set the color value that OpenGL will use for clearing the color buffer by glClearColor(). The syntax for this is glClearColor(redValue, greenValue, blueValue, alphaValue).
redValue, greenValue, blueValue and alphaValue are just red, green, blue and alpha component of a color, just like we have with _RGBA(). They all should be between 0-1.
Now, we’ll use these two OpenGL commands in our previous code
_TITLE "Learning OpenGL" 'giving title to your window
SCREEN _NEWIMAGE(600, 600, 32) 'creating a window of 600x600

'This is our main loop
DO
    _LIMIT 40 'Adding this will prevent high cpu usage.
LOOP

SUB _GL ()
    'Here we'll put our OpenGL commands!
    _glViewPort 0, 0, _WIDTH, _HEIGHT 'here _WIDTH() and _HEIGHT() gives the width and height of our window.

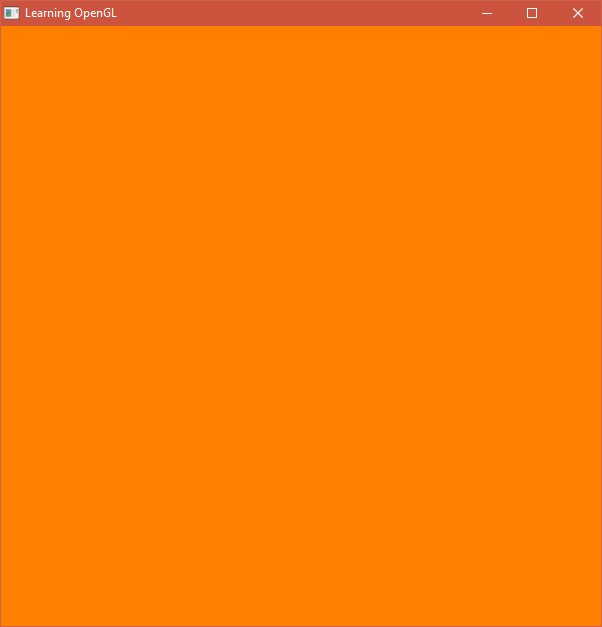
    _glClearColor 1, 0.5, 0, 1
    _glClear _GL_COLOR_BUFFER_BIT
END SUB
This will produce the following output -

Keywords you have learned about
Exercise
That’s all in this section. Before continuing to next section, I recommend you to go throught the exercises & solve them.